
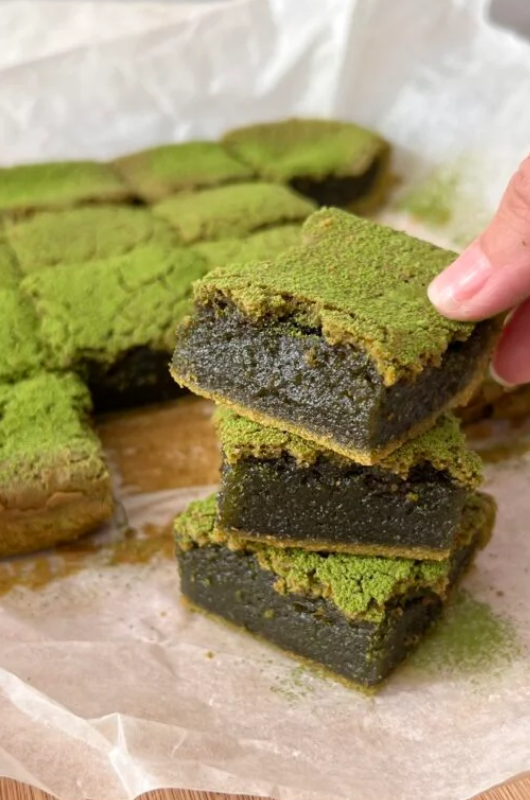
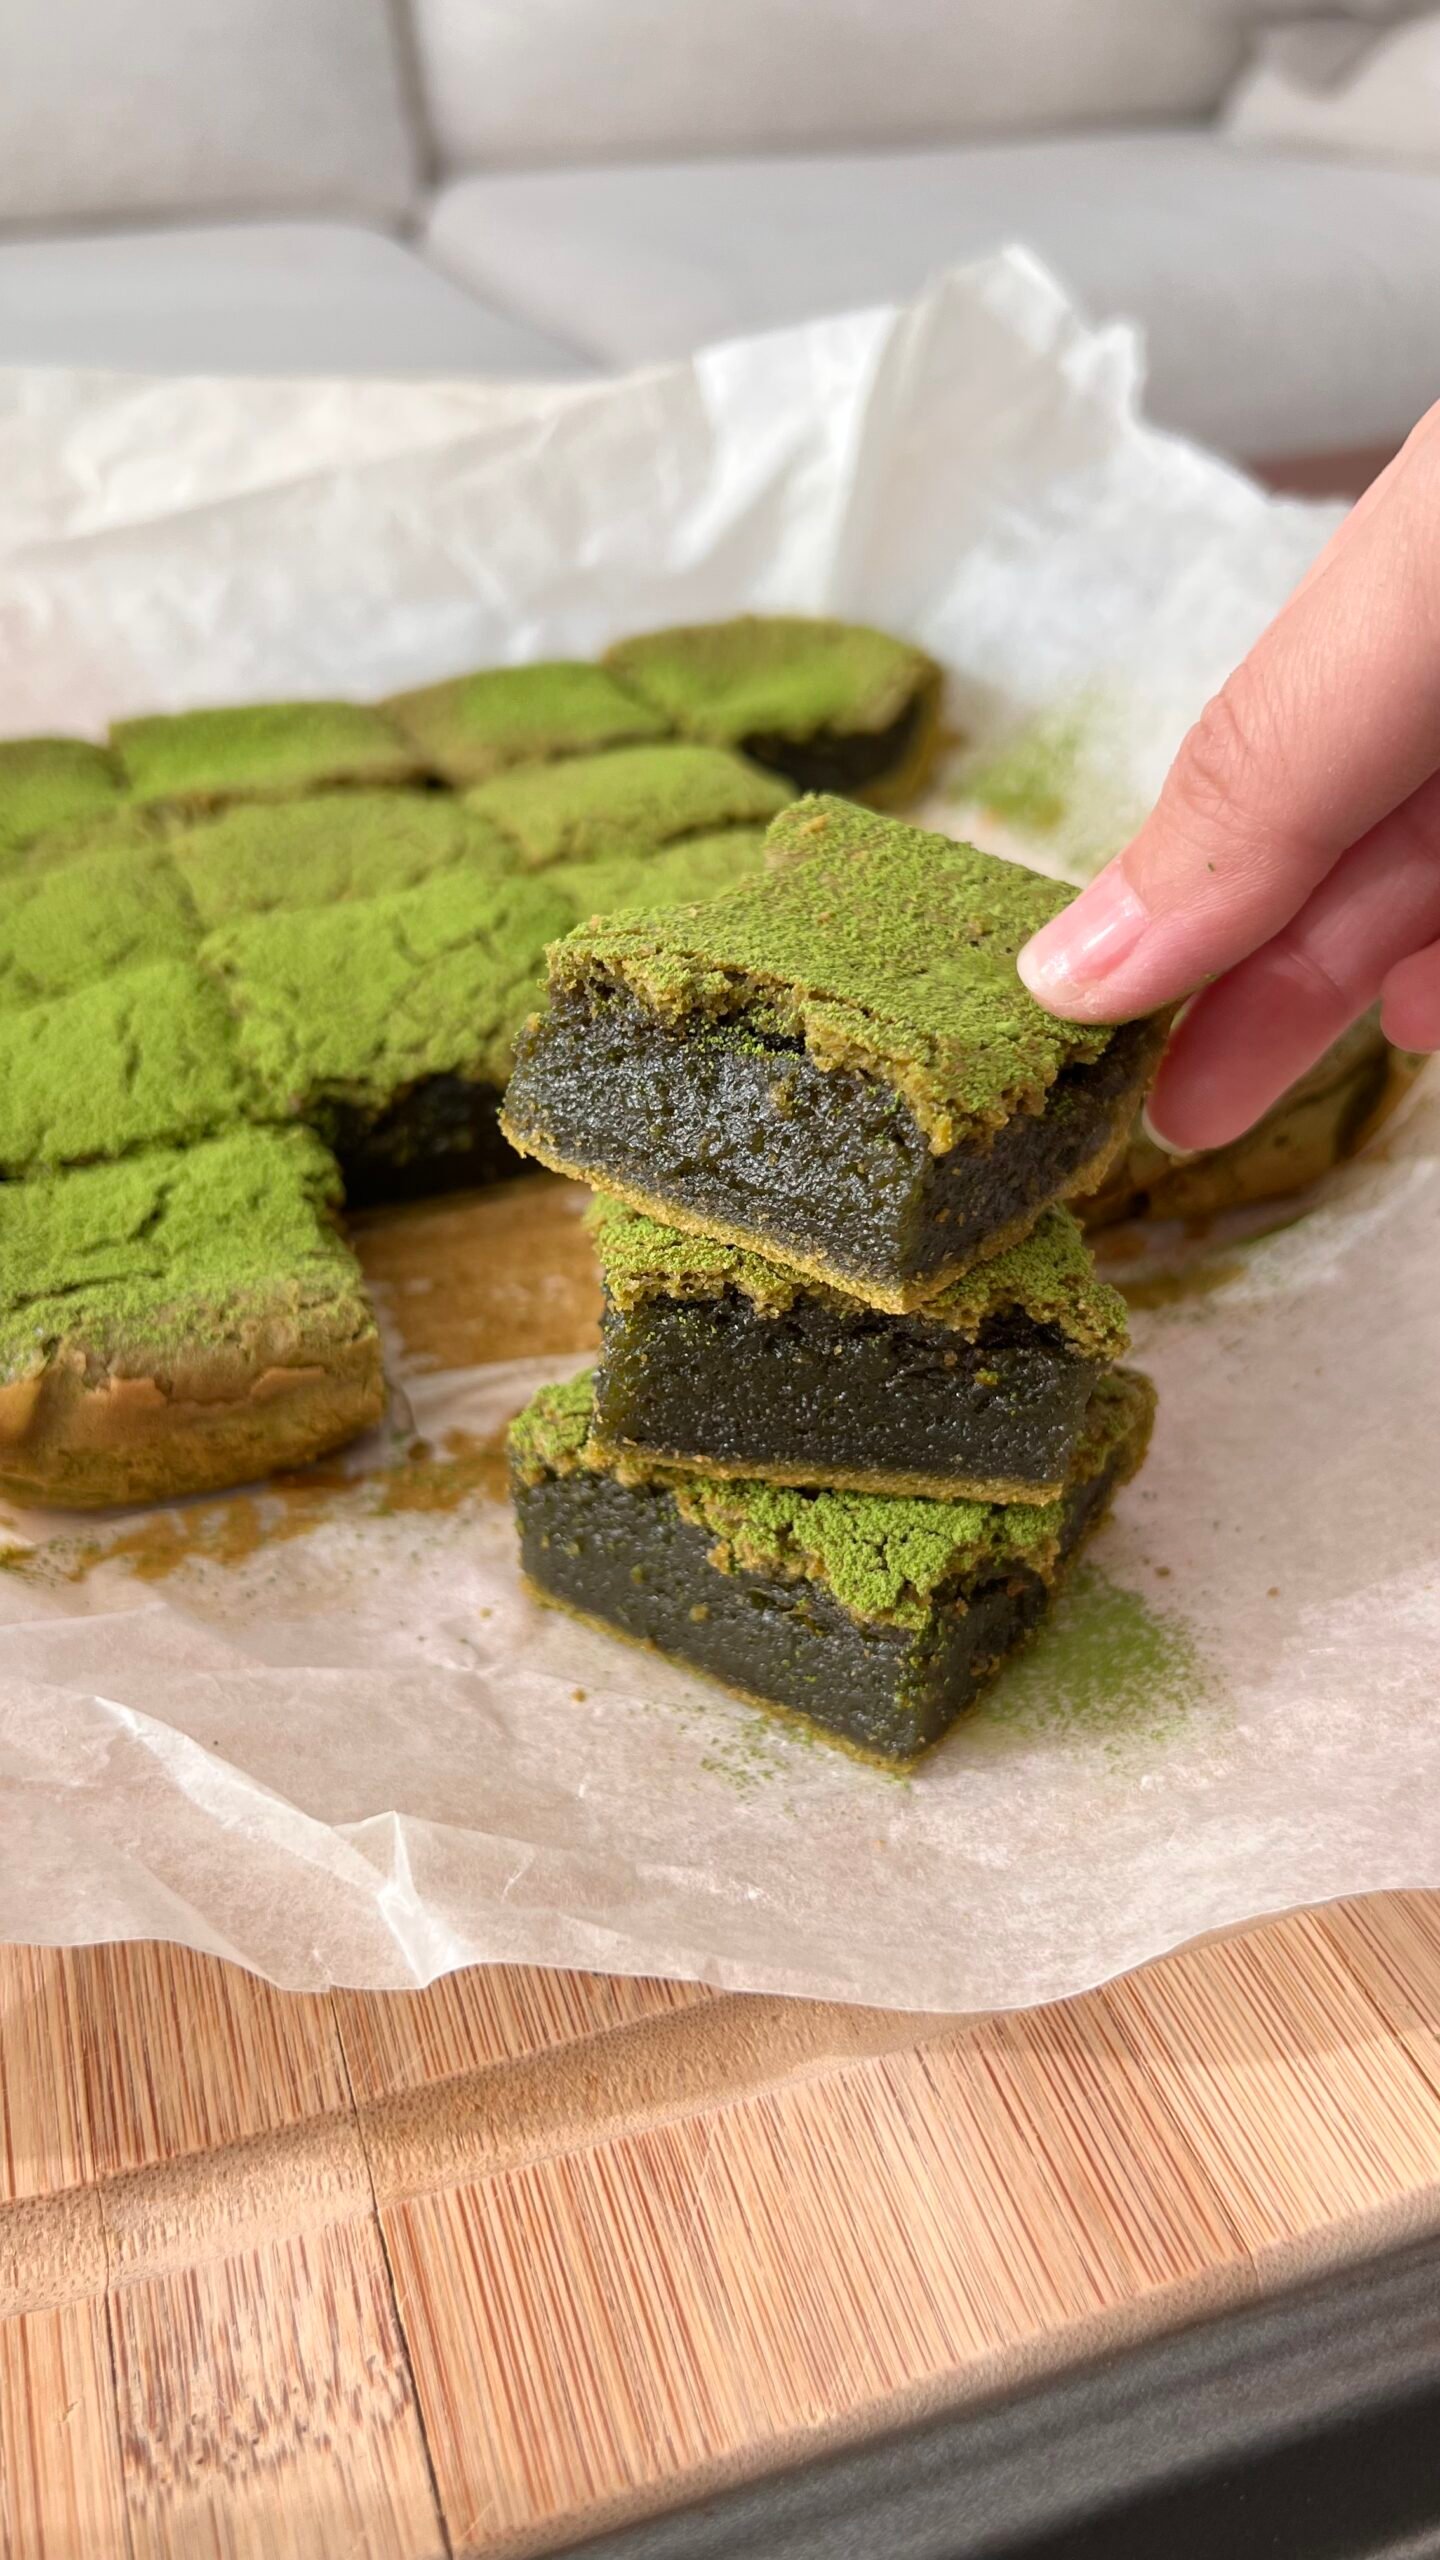
I first wrote created this matcha mochi brownie recipe in 2017 and I’ve been making it multiple times a year in my household ever since.
I felt like it was time to update this recipe, so you’ll find the updated PERFECTED Matcha Mochi Brownie recipe. With several reiterations, this recipe has been simplified.
If you made this, let me know what you think. Feel free to tag me @eatingwithkirby on Instagram!

This is actually a variation of my “Easy and Delicious Mochi Brownie Recipe” (which is also super delicious). If you are making this for kids or don’t want the caffeine kick, feel free to use the other recipe instead. Essentially, you’re just substituting the matcha powder with cocoa powder, but the recipe pretty much stays the same.
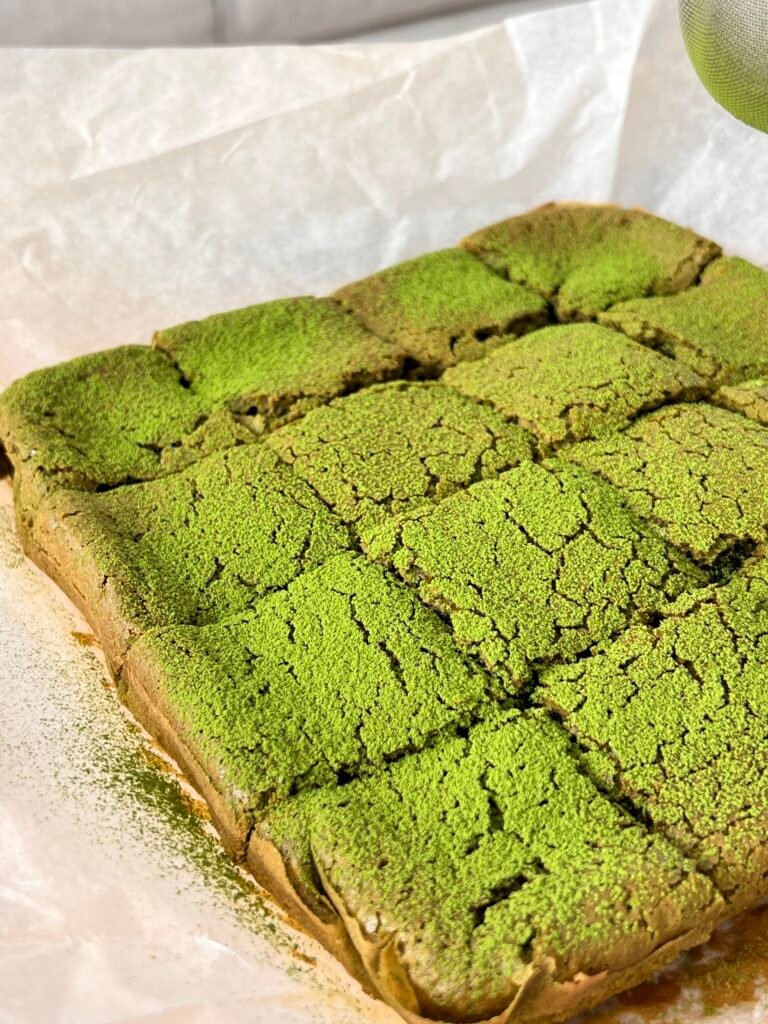
What are Mochi Brownies?
Mochi brownies are a cross between mochi aka glutinous rice balls and, brownies (the traditional fudgey kind). Some people call them mochi brownies, some people call them brochi (brownie mochis), but they’re the same thing. Instead of a fudge-y chocolatey center, it’s more chewy, bouncy, and light. Which means it’s perfect for people who don’t have a major sweet tooth or don’t like their sweets too rich.
Mochi brownies can be made into whatever shape you want. I’ve made them in mini muffin pans, regular muffin pans, loaf pans, and square pans.
This recipe is super versatile so play with it however you wish. When you make them in mini muffin pans, you’ll just more ‘crust’ which is nice for certain occasions.
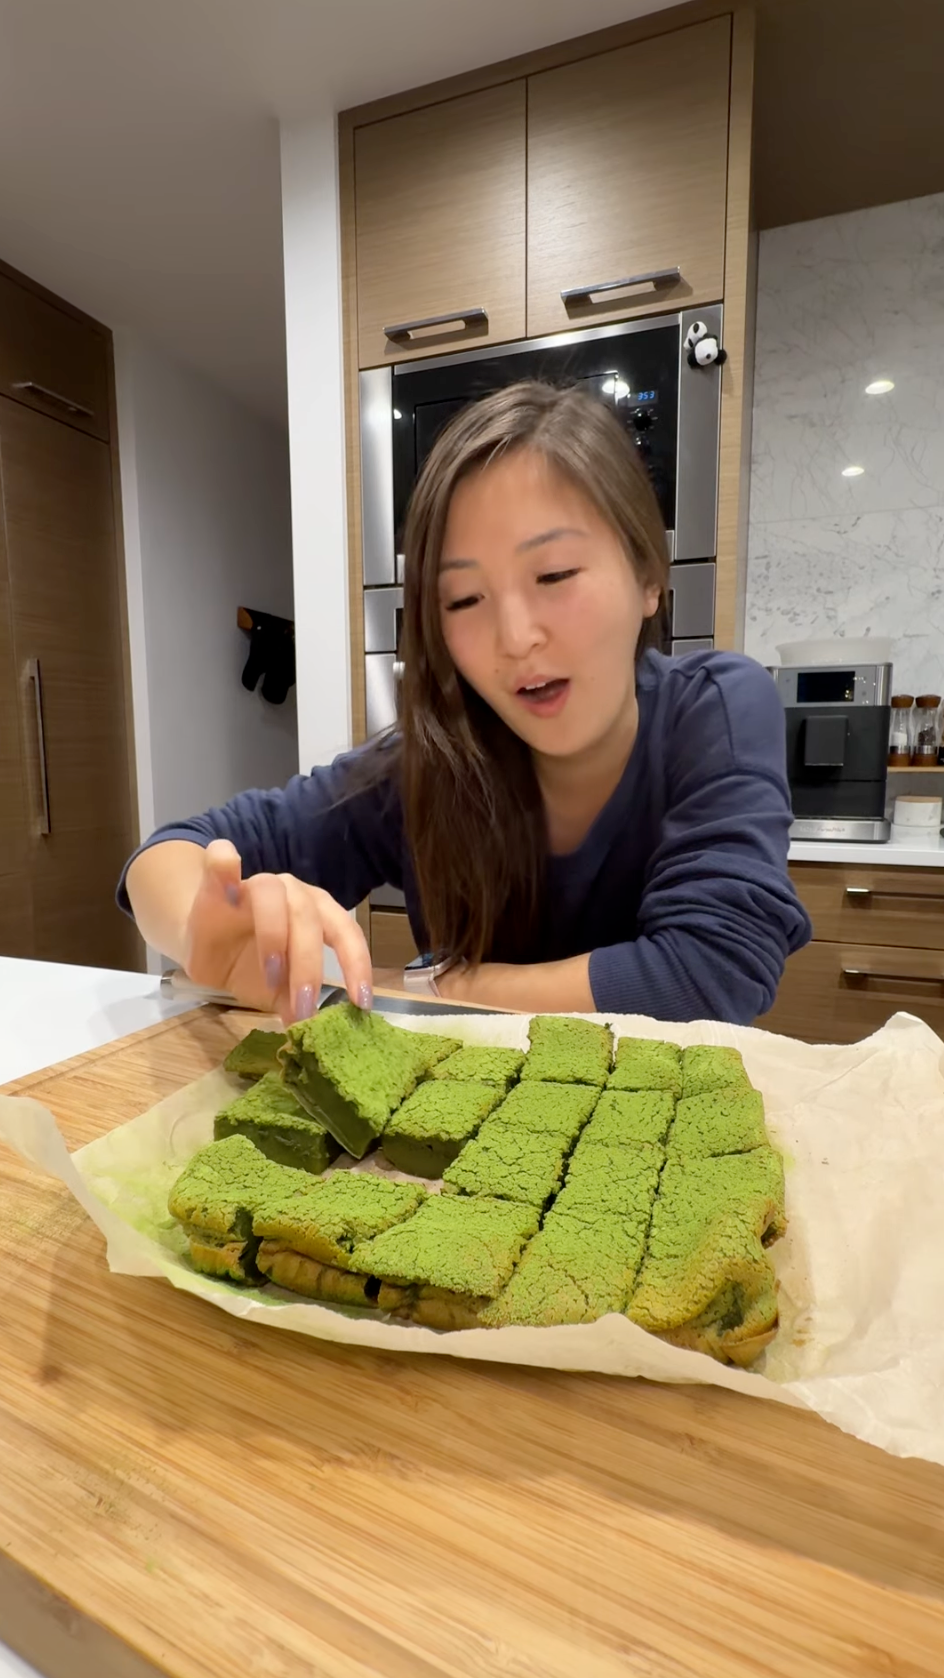
Ingredients You’ll Need
- Butter: if you use salted butter, then omit the pinch of salt in the recipe
- High Quality Matcha Powder: Make sure to use a high quality one! Preferably one you just opened as the colour will oxidize and turn darker the longer it gets into contact with oxygen/air. You will be able to taste the difference when you use high quality matcha powder
- Glutinous Rice Flour (Aka Mochiko): I use Thai glutinous rice flour. It does not contain gluten, and it provides the perfect amount of chew for this type of brownie
- Vanilla Extract: Adds a little oomph to the recipe
- Eggs: Important so don’t skip this
- Baking Soda: lifts the brownies and makes them fluffy (don’t omit this ingredient or else your brownies will be flat!)
- Vegetable Oil: any type of oil will do but neutral oils will work best
- Sugar: I use white sugar, but you can use any kind of sugar you like
- Salt: just a touch will bring out the sweetness
Caution: These are Addictive
This is truly a DELICIOUS matcha mochi brownie that tastes like a mochi ball. It’s perfect for matcha AND mochi lovers because it’s truly the best of both worlds. If you sift extra matcha on top, they will taste more bitter, so I do think it’s more for adults than kids. If you’re making this for kids, feel free to make two batches, one with matcha and one with cocoa powder! Just substitute the 2 tbsp of matcha powder in this recipe with 4 tbsps of cocoa powder.
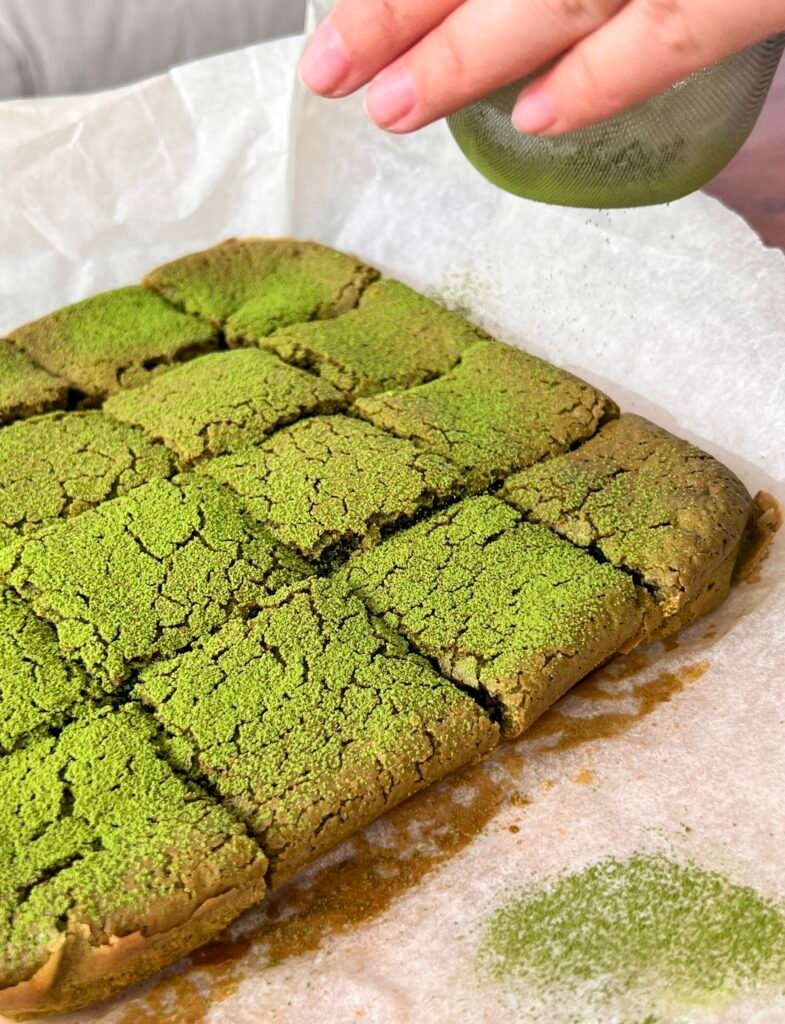
How to Store Them
They are best eaten on the same day but will last in the fridge for up to 3 days. Make sure to reheat them in the microwave with a damp paper towel on top of it, or in the air fryer to get back some of the crispiness.
When you make them in muffin tins, they’re way more portable and can be put into lunch boxes and such!
Check out my other Easy Hacks
Other Easy Recipes
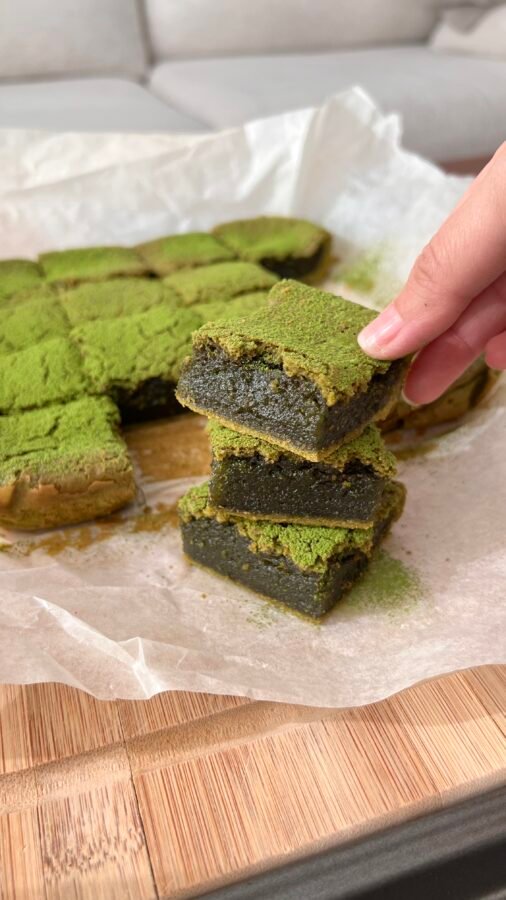
Matcha Mochi Brownies
Ingredients
Equipment
Method
- Preheat oven to 350°F/175°C
- Combine water, butter, oil, and matcha powder in a pot over medium heat. Make sure to whisk the matcha powder until there are no lumps and everything has melted together.
- Take it off the heat.
- In a large mixing bowl, combine all of the dry ingredients (2.25 cups of glutinous rice flour, 1.25 cups of sugar, a pinch of salt, and .5 tsp of baking soda).
- Pour the matcha liquid mixture into the dry ingredients. Stir to combine.
- Add the eggs, vanilla extract and mix until well combined. Make sure to combine evenly and that there are no lumps.
- Pour the mochi brownie batter into an oil sprayed or parchment lined pan. Remove any air bubbles by knocking the pan a few times on the counter.
- Bake in the oven for 45-50 minutes (or until toothpick comes out clean).
- Remove from the oven and let cool (10 minutes) before cutting into even squares.
Notes
Happy Eating!
Let me know in the comments below what you think of this recipe! And as always, follow me on Instagram for more delicious and easy hacks to viral recipes!
SHOP MY KITCHEN & CONTENT CREATION GEAR
I earn a small commission from purchases made through Amazon. Thank you for supporting my work!

Great recipe, I’m going to make it tonight!
I made this recipe but my batter was much thicker than yours.. almost like it was starting to become mochi before putting it into the oven. Does the liquid portion have to be completely cool before adding it to the dry ingredients? Mine was a little warm still when I added it and I think this may have thickened the batter.
Hmm! I let it cool a bit but it’s usually still warm when I mix it together. It does get thick until you put the eggs and vanilla extract in. But once the eggs are in, it should become way more liquidy!
Do you have any recommended matcha powders to use for this recipe?
I switch around all the time, but I’d recommend using baking or culinary matcha instead of super expensive ceremonial matcha for these brownies 🙂 No need to waste the nice stuff when you’re baking with it!
This was a cafe quality outcome personally. I used a keto blend sugar alternative for the recipe.
Saw this on Instagram. Glad to find the recipe!
Wow these look and sound delish! Can’t wait to try them!
Delicious can’t wait to try
Tried this recipe, easy to follow. Great result! Everyone has been asking me to make it again and I will!!!
Oh my gosh I’m so glad to hear it!!
Super easy recipe and very yummy 😋
Really good – crisp on the outside and chewy on the inside!! Paired it with tea 🙂