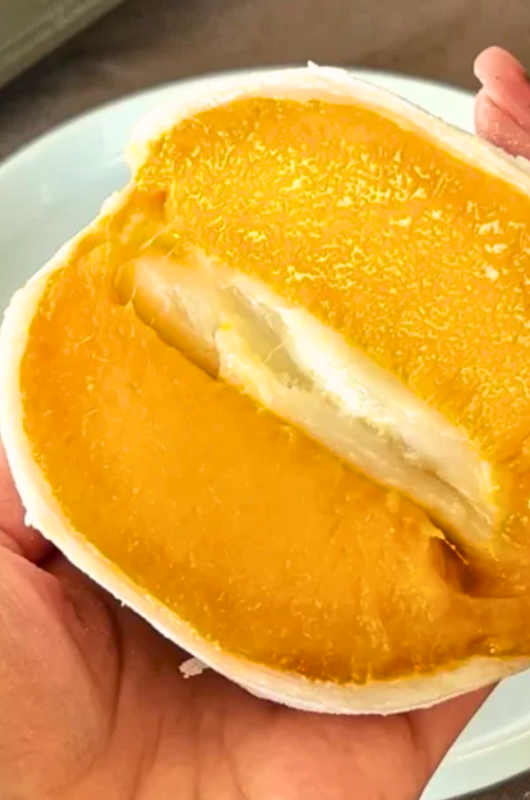
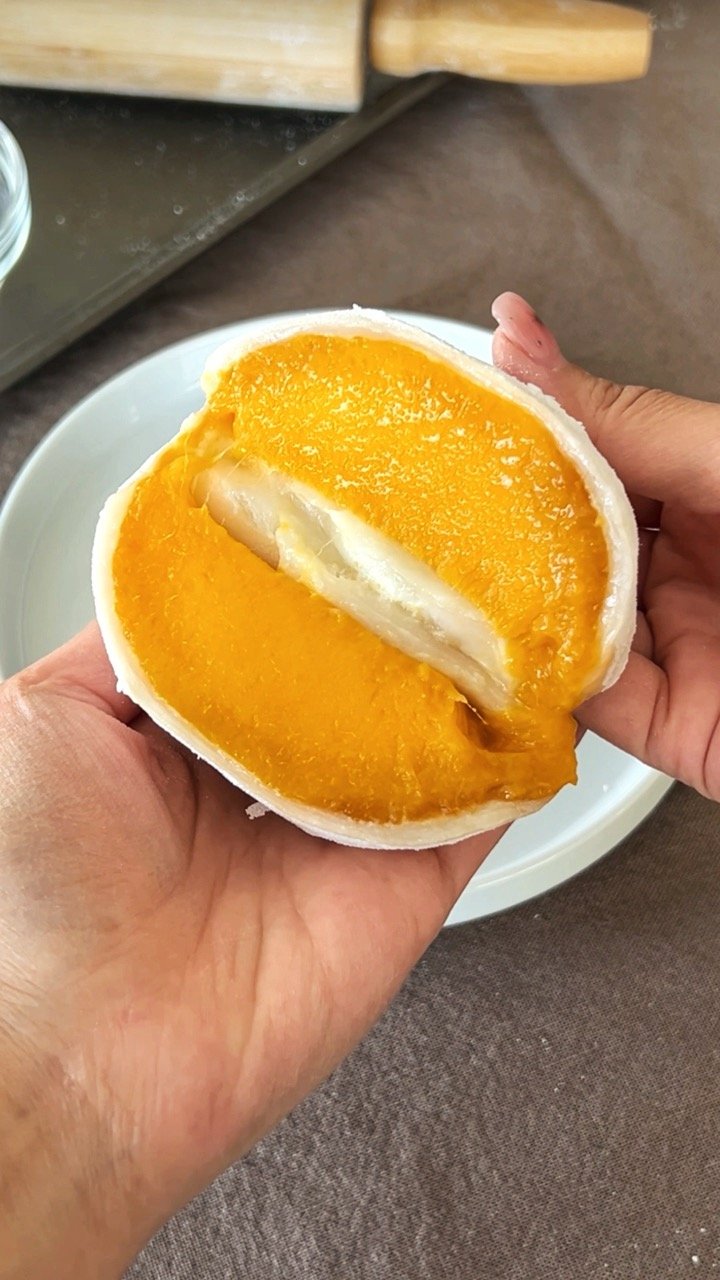
I’m thrilled to share a recipe that’s been making waves on social media: Homemade Mango Mochi! With mango season in full swing, now’s the perfect time to try your hand at this yummy treat that combines the sweetness of ripe mangoes with the chewy texture of mochi.
If you love mochi desserts, this one is going to be your new obsession. It’s soft, stretchy, lightly sweet, and wrapped around a big, juicy slice of ripe mango. And the best part? You only need three main ingredients and a microwave. Yes… a microwave.
Ingredients:
- 1/3 cup glutinous rice flour
- 1.5 tbsp granulated sugar
- 1/3 cup water
- 1 large mango
- Additional glutinous rice flour, for dusting
Instructions:
- Start by preparing your mango. Slice it vertically into two large pieces, avoiding the pit. Using a wide glass cup, gently slide the mango downwards to separate the flesh from the skin. Set aside the mango slices.
- In a microwaveable bowl, mix glutinous rice flour and sugar. Gradually add water, stirring until well combined.

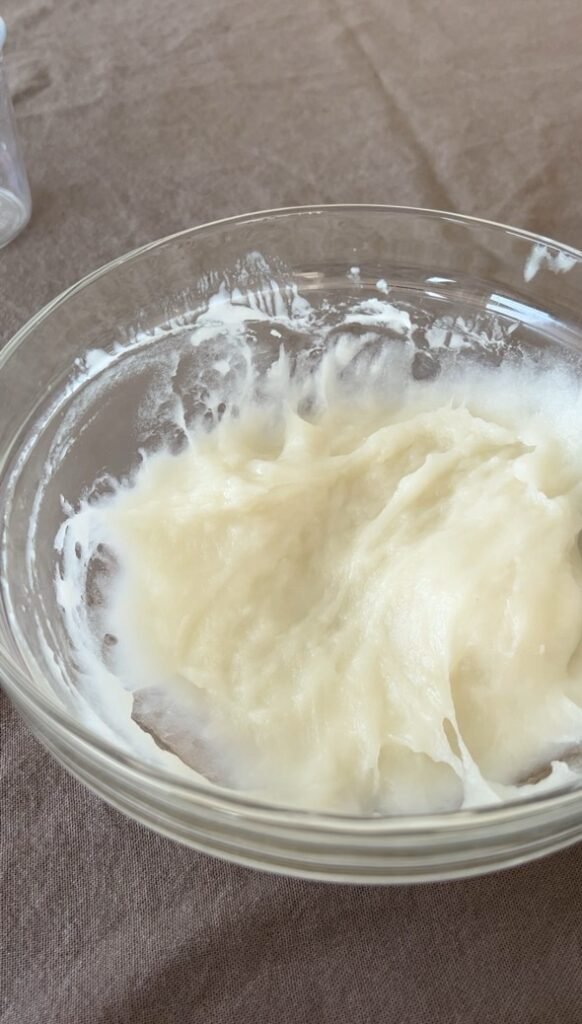
- Cover the bowl and microwave in 1-minute increments, stirring in between, until the mixture turns translucent.

- In another bowl, microwave a portion of glutinous rice flour. This will be used later for dusting.
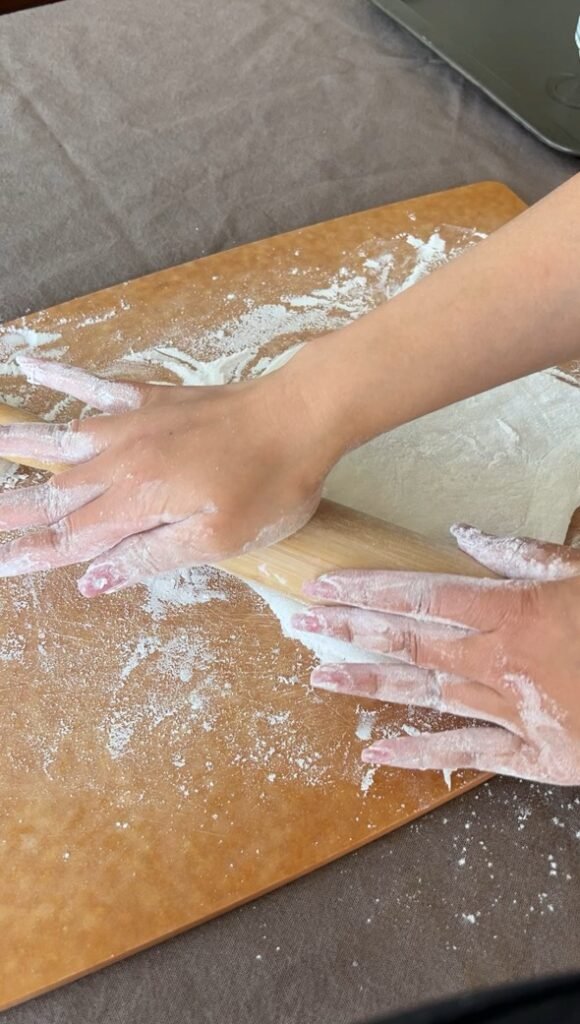
- Oil your hands and knead the mochi mixture until smooth. Transfer it to a dusted surface.
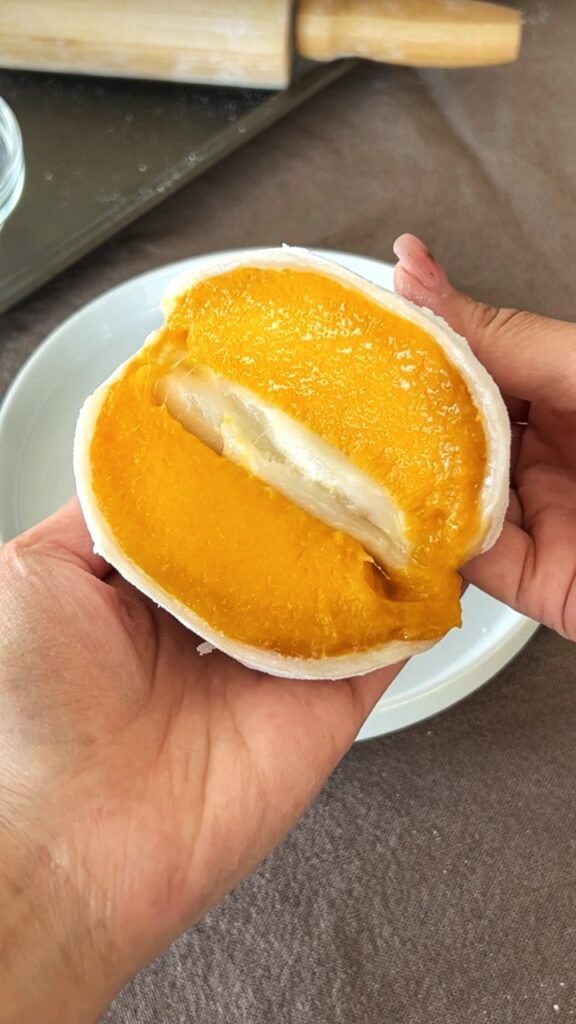
- Divide the mochi into two portions, flatten each into a disc, and wrap them around the mango slices.


- Refrigerate the mango mochis for 15-30 minutes before serving.




These homemade mango mochis are a delightful summer treat that’s sure to impress your friends and family. For more delicious recipes and cooking tips, follow @eatingwithkirby.
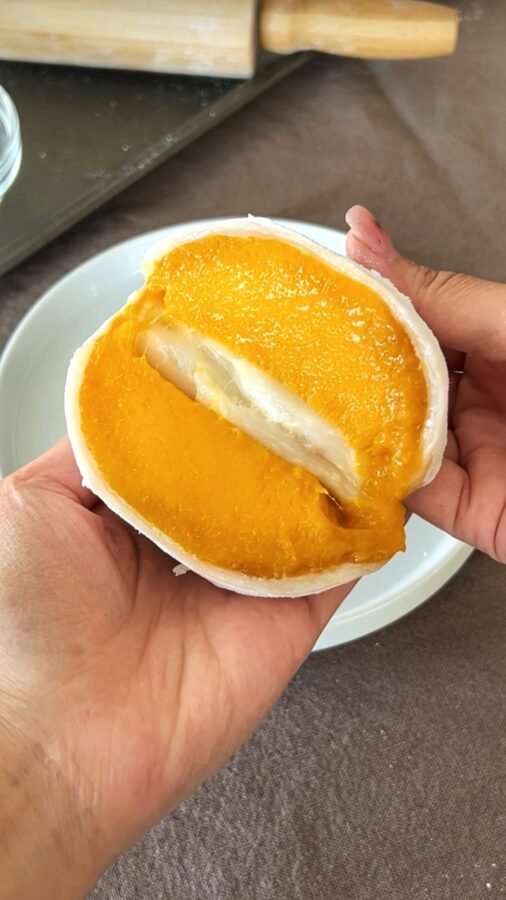
Homemade Mango Mochi (Easy 3‑Ingredient Summer Recipe)
Ingredients
Method
- Begin by preparing your mango. Hold the mango upright and slice it vertically into two large pieces, avoiding the pit in the middle. Using a wide glass cup, gently slide the mango downwards against the glass to remove the flesh from the skin. Set aside the mango slices for later use.
- In a large microwaveable bowl, combine the glutinous rice flour and sugar. Whisk until well combined. Gradually add water to the mixture, stirring continuously until fully incorporated.
- Cover the bowl with plastic wrap or a lid and microwave in 1-minute increments, 3-4 times, or until the mixture becomes translucent. Be sure to stir the mixture in between each microwave session to ensure even cooking.
- In a smaller microwaveable bowl, microwave approximately 1/3 cup of glutinous rice flour for 20-30 seconds. Lightly whisk and microwave again for another 30 seconds. This step is essential for achieving the desired texture of the mochi.
- Lightly oil your hands and wear food-grade gloves to prevent sticking. Knead the mochi mixture until it becomes smooth and stretchy. Transfer the mixture onto a cutting board dusted with microwaved glutinous rice flour.
- Divide the mochi into two equal portions and flatten each portion into a disc. Place a mango slice in the center of each disc and wrap the mochi around it, pinching the ends to seal.
- Refrigerate the mango mochis for 15-30 minutes to firm up before serving.
Other Recipes You Might Like

SHOP MY KITCHEN & CONTENT CREATION GEAR
I earn a small commission from purchases made through Amazon. Thank you for supporting my work!
Join the Eating with Kirby Community
Sign up to my newsletter
Get my recipes and food adventure recommendations directly in your mailbox.